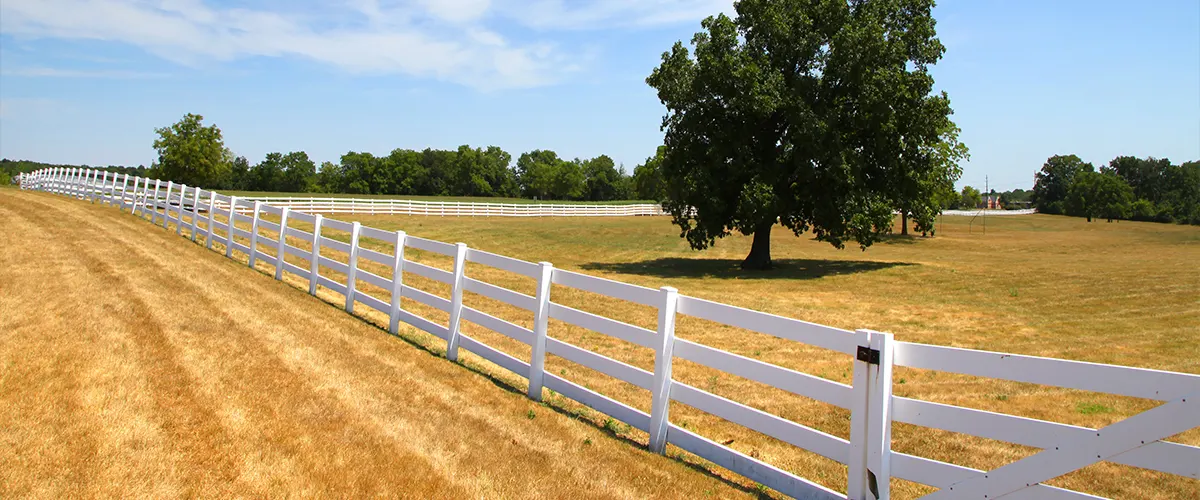
If you’re thinking about installing a split rail fence, there are a few things you need to know before getting started. In this guide, we’ll walk you through the process of installing a split rail fence step-by-step, so you can do it yourself.
Whether you’re a first-time homeowner or just looking to update your property’s fencing, here is everything you need to know about how to install a fence properly.
1. What You Need To Know Before Installing A Split Rail Fence
Before you install a split rail fence, there are a few things you need to take into consideration. First, you’ll need to decide where you want the fence to go and how much space you want it to cover.
You’ll also need to choose the type of wood you want for your fence. Then, make sure you have the necessary tools and fence materials.
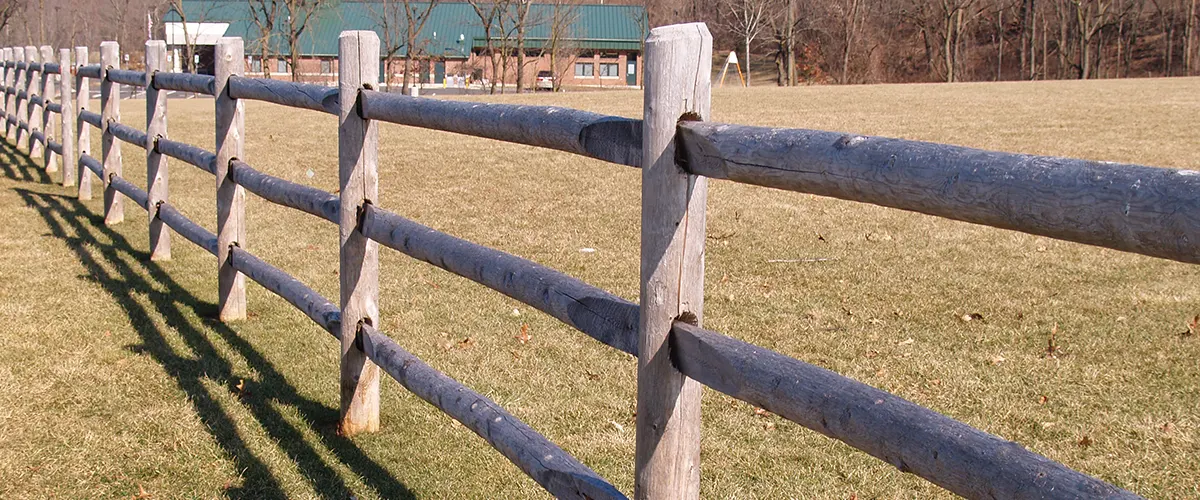
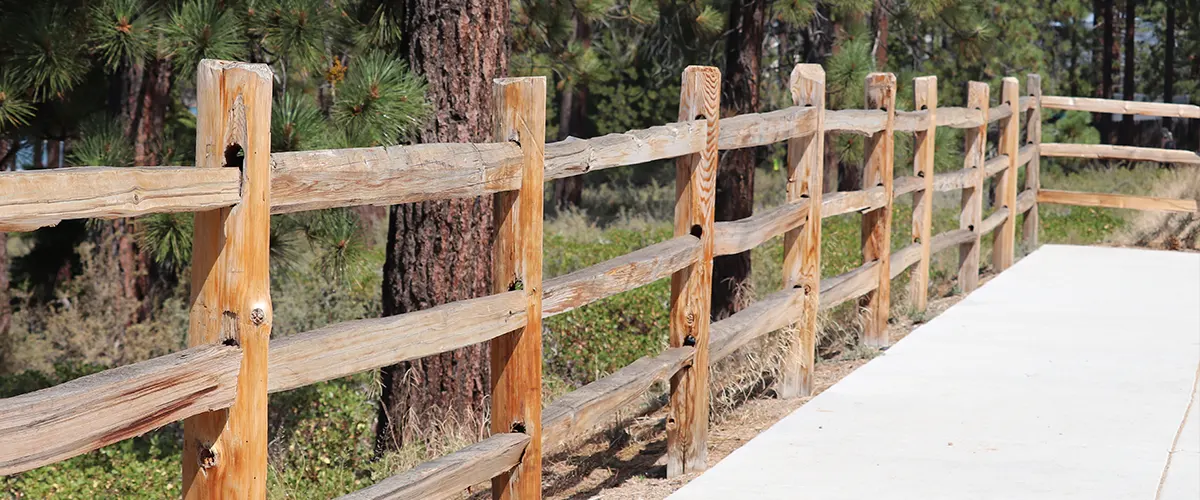
But let’s see what a split rail fence is.
A split rail fence is simply a fence made out of partially split logs that are typically used to create garden borders or enclosures. Split rail fencing is durable and can be bought pre-made at your local home improvement store, making it the perfect DIY project for homeowners.
2. How To Layout Your Fence
- Locate your property lines and mark them.
- Measure the distance you want the fence to be from your property line and make a note of this measurement.
- Make sure that there is enough space on either side of this measurement for an additional rail.
- Determine how many rails you want in your split rail fence and measure out the appropriate amount of space for each rail.
- Draw lines with chalk or tape along these measurements to mark the post hole locations.
- Use string or a measuring tape to lay out your remaining rails.
3. How To Install The Fence Posts
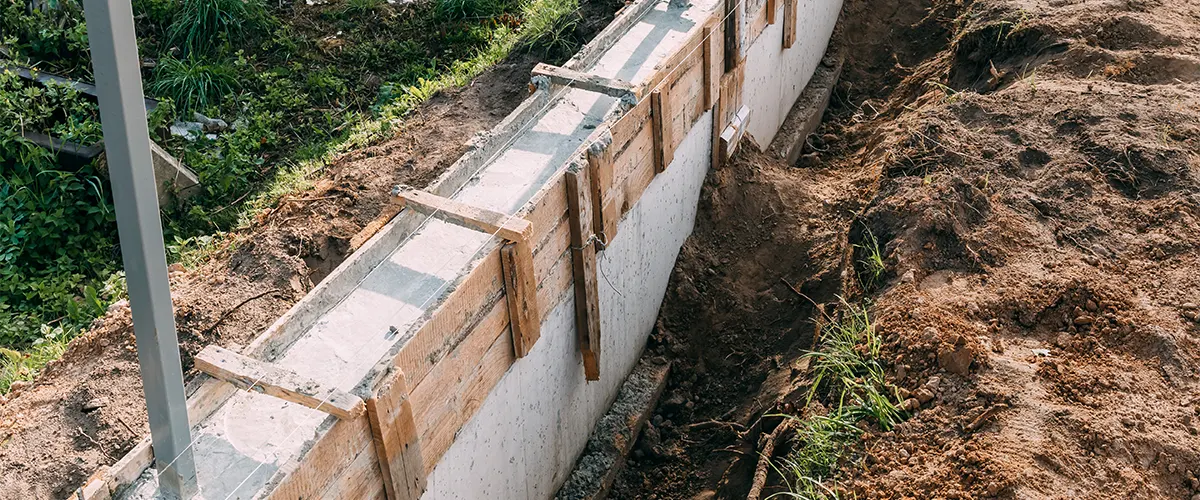
First, you’ll need to dig post holes for each post that is the same depth as the rail and twice as wide. Then, pour a base of gravel into each hole, and add cement to create a solid foundation. Make sure you add two more inches of gravel before adding concrete mix.
Mix the concrete according to the manufacturer’s instructions and fill the post holes to the top and reinforce each post with rebar and wire before covering it in concrete. Use a level to make sure the line posts and the corner posts are straight and plumb (i.e., perpendicular and vertical).
Allow the concrete to dry completely and fill the remaining space with dirt. Finish by installing caps onto the top of each post.
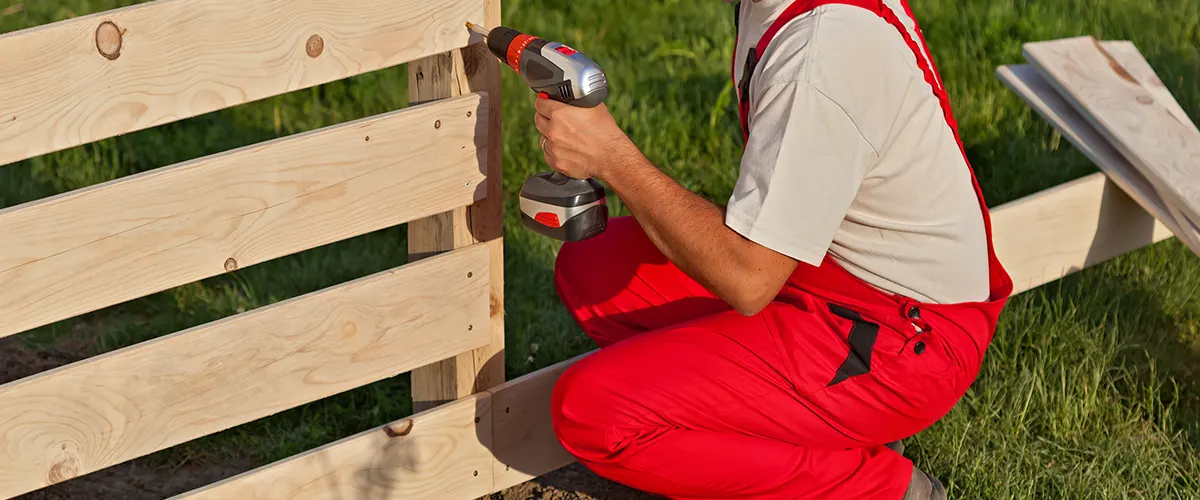
4. How To Attach The Fence Rails
- Attach them with carriage bolts (long bolts with nuts and washers on either end). First, drill pilot holes through your rails and into your posts. Then, insert carriage bolts in these pilot holes and secure them with washers and nuts.
- Use a post drill with a masonry bit (the kind that is typically used to install electrical wiring) to create holes in your posts. Then, drive the rebar through these posts and twist it until the entire length of each post is covered in steel reinforcement. This will keep your split rail fence sturdy and secure for years to come.
5. Tips And Tricks For A Flawless Installation
- Use a level to check the alignment of the posts and adjust as needed.
- When measuring for your rails, make sure you leave enough space on either side for an additional rail.
- Pre-drill pilot holes for your carriage bolts (or use a post drill with a masonry bit) to avoid splitting the wood.
- Reinforce each post with rebar and wire before covering it in concrete to ensure that your fence is secure.
6. Keep Your Fence In Great Shape
- Inspect the fence regularly for any damages or loose rails.
- Repair any damages as soon as possible to avoid further damage.
- Replace any damaged or missing rails.
- Keep the area around the fence clear of debris and overgrowth to avoid rot and insect infestation.
- Treat the wood with a sealant or stain every few years to protect it from the elements.
Frequently Asked Questions
Conclusion
We hope this guide has helped you understand the basics of installing a split rail fence by yourself. If you need help with your installation, we can provide assistance with any questions or issues that come up during your process.
Get in touch if you want to talk about how our team of experts can be involved in helping install your new split rail fence!