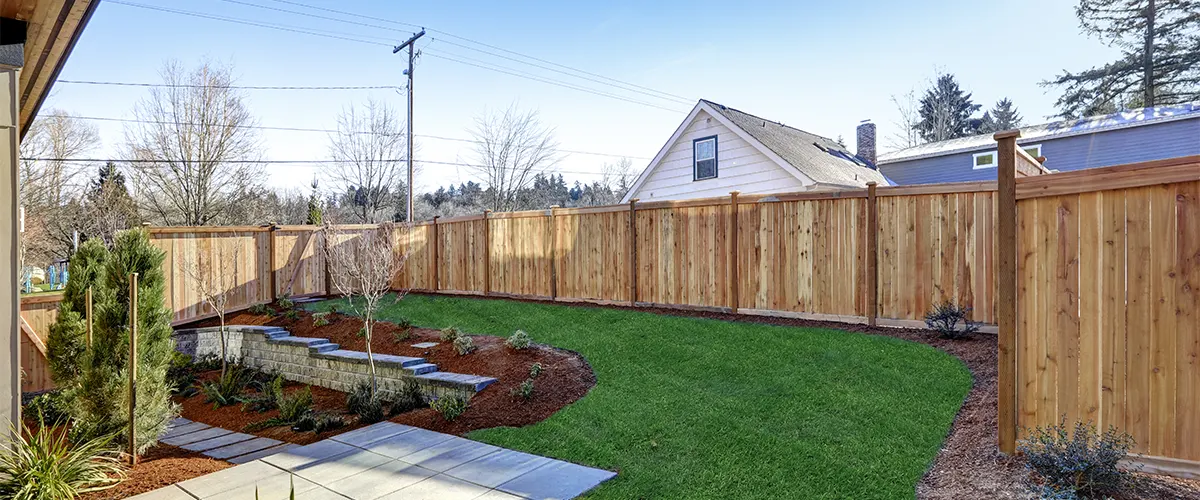
Replacing fence posts is an important task that should not be taken lightly. In this how-to guide, we will walk you through the process of replacing fence posts so your fence can look as good as new.
Proper preparation and planning are key to a successful replacement, so be sure to read through our tips before getting started.
Best Time To Replace Fence Posts
In general, the best time to replace wood fence posts is when the ground is soft and easy to work in. This usually occurs in the spring or fall, when the temperature is mild and there is plenty of rain. If you replace your posts during these times, the job will be much easier.
If you must replace your posts during the summer or winter months, be sure to dress accordingly. Protecting yourself from the elements will make this job much more manageable.
Common Causes Of Posts Rotting
There are a few common causes of a rotted fence post, including:
- Water damage: If your fence is located near a body of water, the posts may become waterlogged and rot.
- Untreated wood: If your posts are made from untreated wood, they may rot over time.
- Insect damage: Termites or other insects can cause serious damage to wooden posts, leading to rot.
- Poor drainage: If water pools around your fence posts, they may eventually rot.
If you notice that your fence posts are rotting, it is important to take action before the problem becomes worse. Replacing the posts as soon as possible will help protect your fence and keep it looking great.
Let’s take a look at how you can easily do that.
How To Remove A Post That's Been Damaged Or Rotted
If you’ve noticed issues with your fence posts that are out of shape or even cracked, it’s time to take action and replace any rotten or damaged parts. Here are 5 easy steps to do that:
1. Inspect Your Wooden Fence Posts For Damage Or Rot
If you notice a rotted fence post, take a closer look to determine the extent of the problem. If the damage is minor, you may be able to fix it by cleaning and treating the wood with a sealant or wood preservative.
If the damage is more extensive, you will need to replace the post.
2. Remove The Old Fence Posts
Begin by removing the post from the ground. This can be done by using a crowbar or pry bar to loosen the soil around the post. Once it is loose, you should be able to pull it out of the ground with your hands.
Once the post is out of the ground, use a saw to cut off any rotted or damaged parts of the wood. Make sure to remove all of the rotten wood to prevent it from spreading to the rest of your fence.
Next, you can use a hammer and chisel to remove any dirt or debris that is stuck in the hole where the post once was. You can also fill the fence post hole with sand or gravel to provide extra drainage and make it easier for water to seep out of the ground.
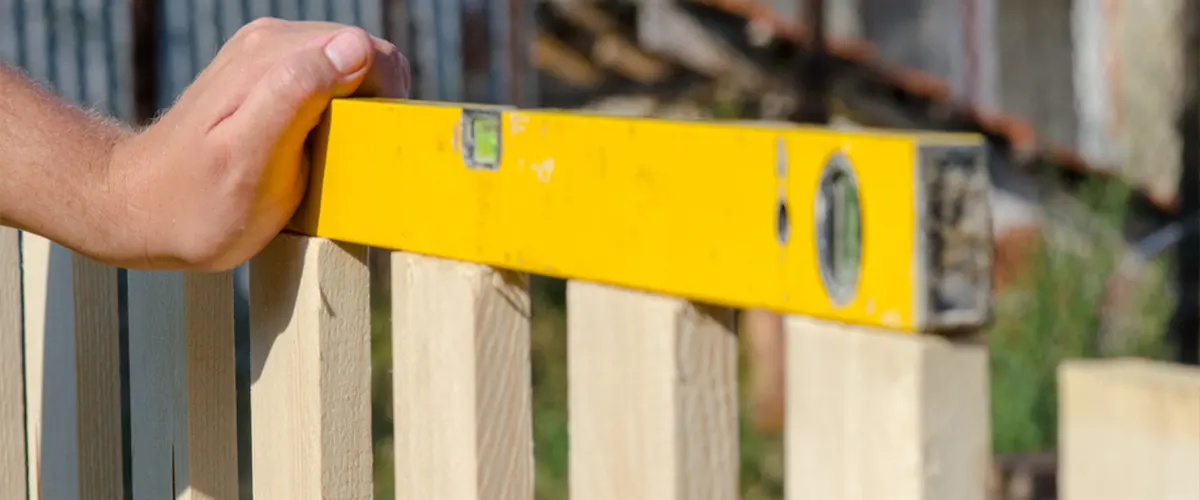
3. Set The New Fence Posts In Place
Once the hole is clear, you can set your new posts into the ground. Make sure that it is level and plumb with a spirit level to ensure your fence will be straight and properly supported when you’re through.
If the soil in your area experiences a lot of freezing during the winter months, you may have to pour some gravel or sand around the base of your wood fence post to prevent it from floating or rising with the changing temperatures.
Prepare your new post if necessary
Before placing your new post in the ground, you may have to remove a portion of the bark on its bottom end to allow for proper drainage and prevent termites from attacking it. You can use a hatchet or a chisel for this task.
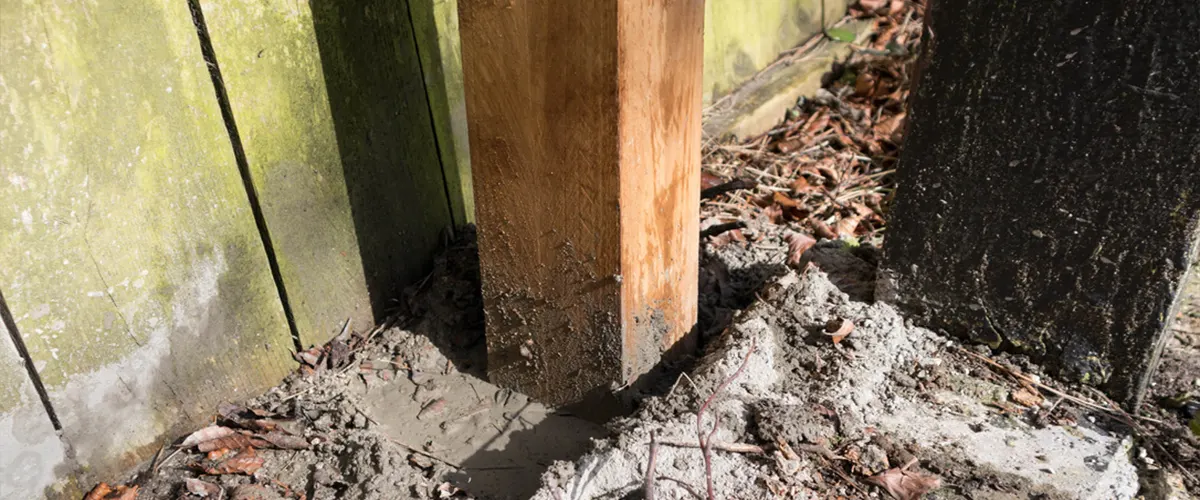
Fill in the holes with concrete
Once the post is in place, you can fill the fence post hole around it with concrete. This will help to keep it in place and protect it from rotting or being damaged by water. Be sure to use enough concrete to cover the entire hole and form a solid base for your post.
4. Wait For The Concrete To Dry Before Attaching The Fence Boards
Once the posts are in place and have been secured with concrete, you can begin attaching your fence rails. Make sure that the rails are level and straight, using a spirit level to ensure accuracy.
Once the rails are in place, reattach the fence panels using screws or nails. Make sure that they are properly aligned and secure to prevent them from falling out or coming loose.
5. Clean Up The Area And Protect Your New Posts
After you’ve finished repairing your fence, you will need to clean up any debris left behind by the old post and treat it with water repellent to ensure that rot doesn’t become a problem again in the future.
If you treat the wood with a sealant or primer, you may also be able to paint it to make it look like new.
Frequently Asked Questions
If you notice that one or more of your fence posts are severely rotted or damaged, it may be necessary to replace them all. This is especially true if you want to make sure that your new fencing will last for a long time.
If you are using a different material for your replacement post, you may need to purchase it from a supplier or hire someone to help you find the right piece. You should also make sure that you have all of the tools necessary for this job when replacing fence posts, including a saw, shovels, gloves, and safety gear.
If you are replacing a broken post with a new one, you can simply remove it from the ground and place it in your yard waste bin for pickup or take it to a dumpster so that it can be disposed of properly.
A good place to start is by applying a sealant or primer to your new fence posts after installation, which will help prevent rot, bugs, and water damage. You could also consider painting the posts to give them a more decorative finish.
According to an OLR Report, you should avoid using treated wood for your replacement because it can be harmful to plants and animals near or around your property. Treated lumber is often smelly and dangerous to handle as well, which can make it dangerous to use for fencing.
This can be caused by the post being longer on one side, uneven ground level, or missing footing under the post. It can be fixed by driving it straighter into the ground at a slight angle to compensate for its leaning position. If you are unable to do this yourself, we’re here to offer you professional assistance.
After repairing your fence, you will need to clean up any debris left behind by the old post and treat it with water repellent to ensure that rot doesn’t become a problem again in the future.
Conclusion
Your fence is an important part of your property, so be sure to keep it in good shape by replacing posts that are damaged.
At Hankins Decks we’re experts at installing new fences or repairing old ones.
In case you need help to get started on the process, we’re here to assist you. Contact us today to learn more about our services and how we can help!