Installing vinyl fencing can be a great project for a homeowner. It is an easy process that can be completed relatively quickly if you have the right tools. Furthermore, it will add the much-needed privacy and security to your property.
In this blog post, we will outline five simple steps you need to take to install vinyl fencing on your own property. Let’s get started!
1. Plan The Layout Before Installing Vinyl Fencing
When planning the layout of your fencing, it’s important to consider the overall design of your property. You’ll want to select a style of fencing that will complement your home and landscaping.
You’ll also need to measure the area you want to fence in and mark the boundaries accordingly.
Once you’ve drawn up a plan, you’ll need to gather the necessary materials and tools for the job. Be sure to read the installation instructions carefully before beginning, as this will help ensure a smooth and successful installation.
2. Purchase The Vinyl Fence And Posts
When purchasing vinyl fencing, it’s important to select a quality product that will last for many years. Ask the retailer about the type of vinyl they are selling and the thickness of the fence panels.
There are a variety of different types of vinyl fences available on the market, so it’s important to select the right one for your needs. Some of the most popular options include:
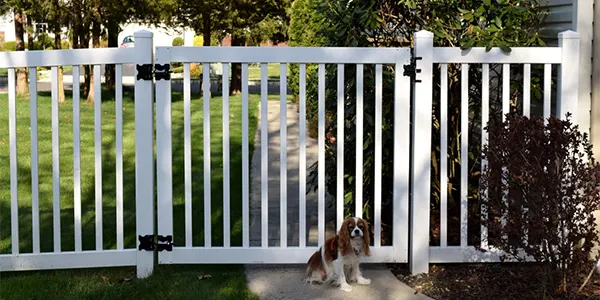
Picket fence
This vinyl fence is perfect for homeowners who want a traditional look for their property. It is made up of a series of short, vertical boards that are spaced out evenly. Picket fencing is typically used to surround a yard or garden.
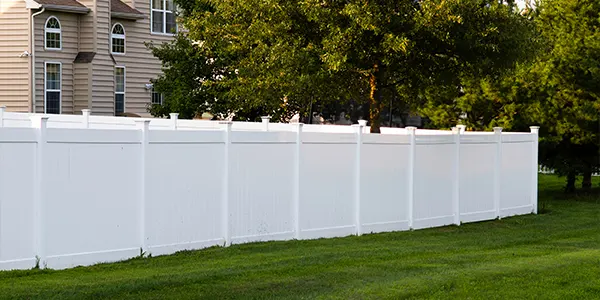
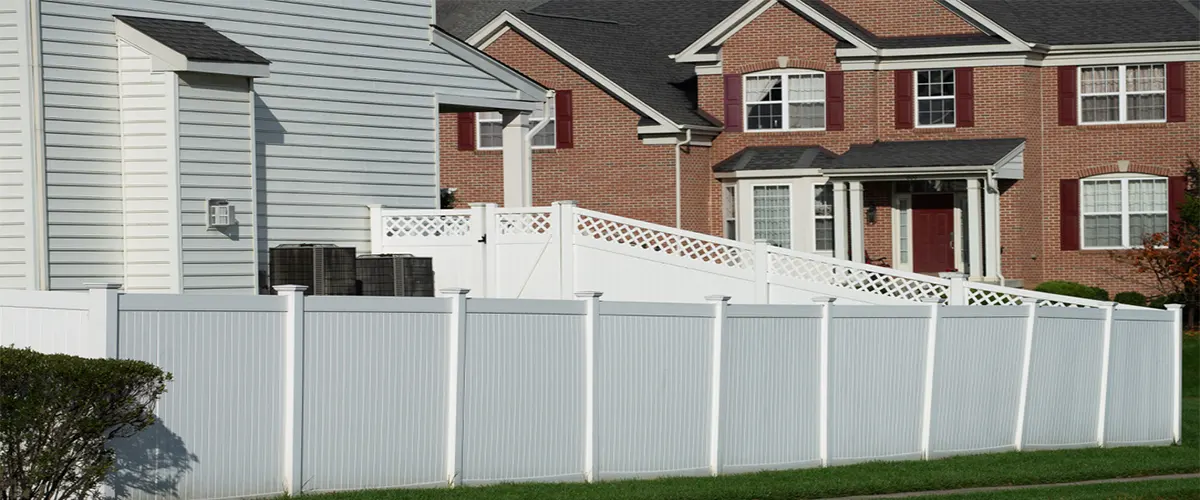
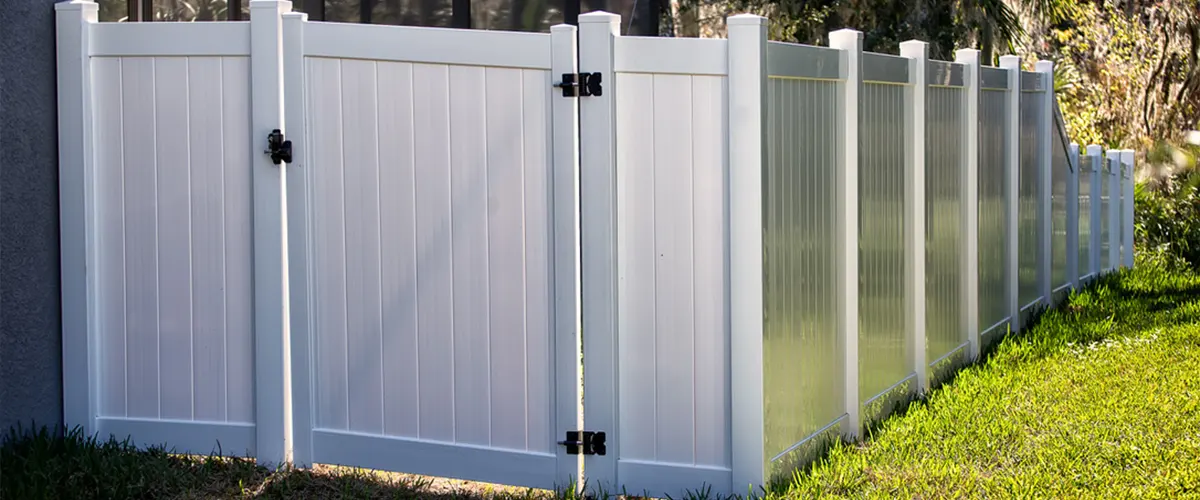
Vinyl Privacy fence
If you’re looking for security, then privacy fencing is the right choice for you. This type of fencing is taller than other options, and it features panels that overlap each other to prevent people from seeing through them.
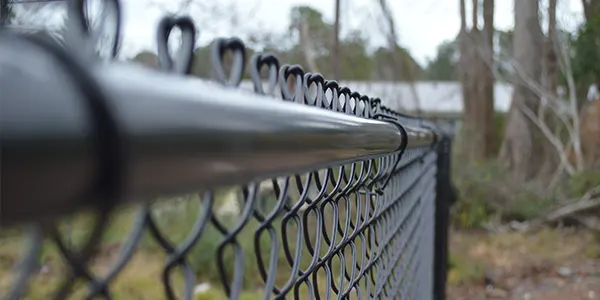
Vinyl coated chain-link fencing
Chain-link fencing is the most common type of fencing around. It features metal or vinyl posts that are attached to individual fence panels with horizontal wires. To install your vinyl fencing properly, you will also need to purchase posts and brackets.
3. Dig Post Holes And Set The Posts In Concrete
Dig The Postholes
Once you have all of your supplies, you’re ready to start digging the postholes. This is probably the most labor-intensive part of the installation process, but it’s worth the effort. If you’ve ever installed wood fencing, then this step will be very familiar.
You’ll need to dig each post hole at least 36 inches deep — but remember to measure your fence height to ensure you dig your postholes correctly. The depth is necessary so that the posts are strong enough to support the panels.
To help make this job easier, you can use a posthole digger or an auger to carve out the holes for the posts.
Set And Brace Your Fence Posts
After digging the holes, it’s time to set and brace the fence posts within the ground. It’s never a good idea to attach anything to a fence post that hasn’t been fully secured in the ground. Not only could this lead to problems or safety issues down the road, but it can also result in damage and vandalism.
When you set your posts, make sure to use a level and ensure they are all at the same height. The top of each post should be 1 inch below the height of your fence panels.
Be sure to secure each post with concrete for extra support, especially if you intend on attaching anything other than vinyl fencing panels.
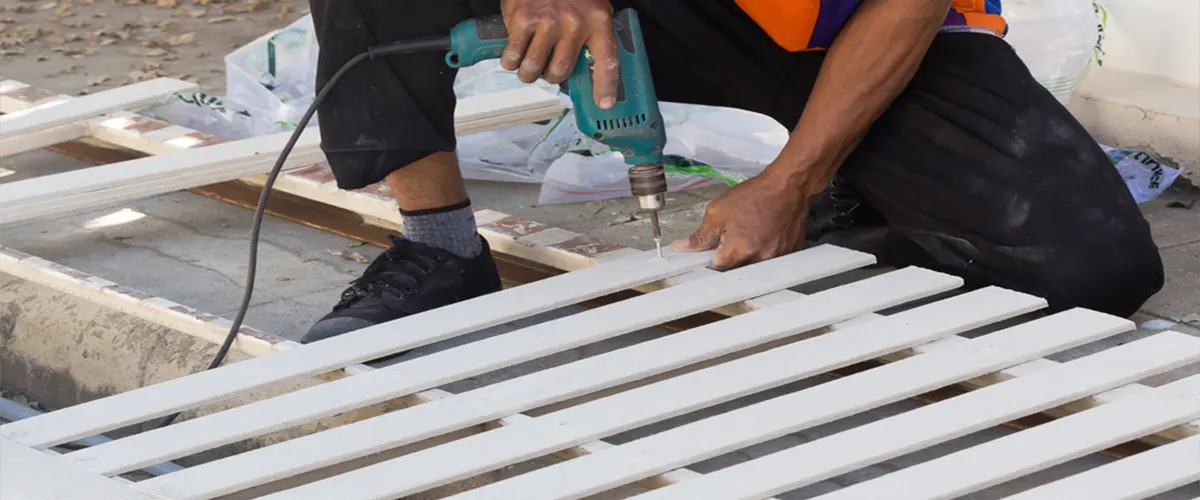
4. Assemble And Attach The Fencing Panels To The Posts
Assemble The Fence Panels
It’s time to start assembling the fence panels. Begin by measuring and cutting the panels to the desired length. Then, use the brackets to secure them to the posts.
It’s important to make sure that all of the fence panels are securely fastened to the posts, and that they are the same length. Otherwise, it will be difficult for you to get them level with one another.
Attach Your Top Rail
Now that all of your posts are secure, attach the top rail to the tops of all the posts. This will ensure that no one can climb over your fence.
5. Final Adjustments
Trim Excess Fencing
If you have any excess vinyl fencing around the corners or gates of your property, it’s important to trim it away. Not only will this make your property look neater, but it will also prevent the fence from becoming damaged.
Use a hacksaw or a utility knife to trim away the excess vinyl fencing. Be sure to cut the fencing at a 45-degree angle so that it can be easily concealed.
Install Bottom Rail
Finally, you can finish off your vinyl fence by installing the bottom rail. This will provide extra support and unity to the whole fence. You can attach it using brackets or zip ties.
Add Accessories
Vinyl also gives you an opportunity to add some nice extras to your property. For example, if you have a gate, you can install a vinyl gate handle to make it easier for everyone to open and close.
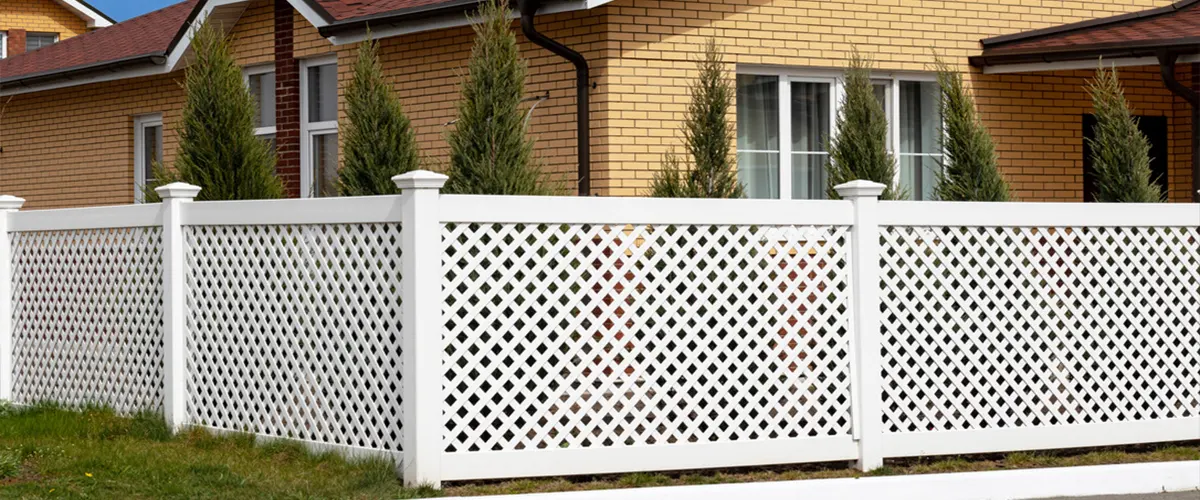
Vinyl lattice is a good way of adding privacy to the bottom half of your fence. You can even add a vinyl sign holder to each post if you want people to know what’s going on behind the fence.
Add Gravel Or Sand For Drainage
If your fence is near a low point on your property, then you may want to add some gravel or sand around the base of each post.
This will help with soil erosion, but it can also prevent water from pooling around the bottom of the posts and potentially rotting them.
If you’re in need of a new fence, we hope this blog post has helped give you an idea of what’s involved in installing a vinyl fence.
Our team at Hankins Decks is here to help with any questions or concerns you may have, so don’t hesitate to get in touch. Also, if you need professional help to install a vinyl fence, we’re more than happy to offer you our services.