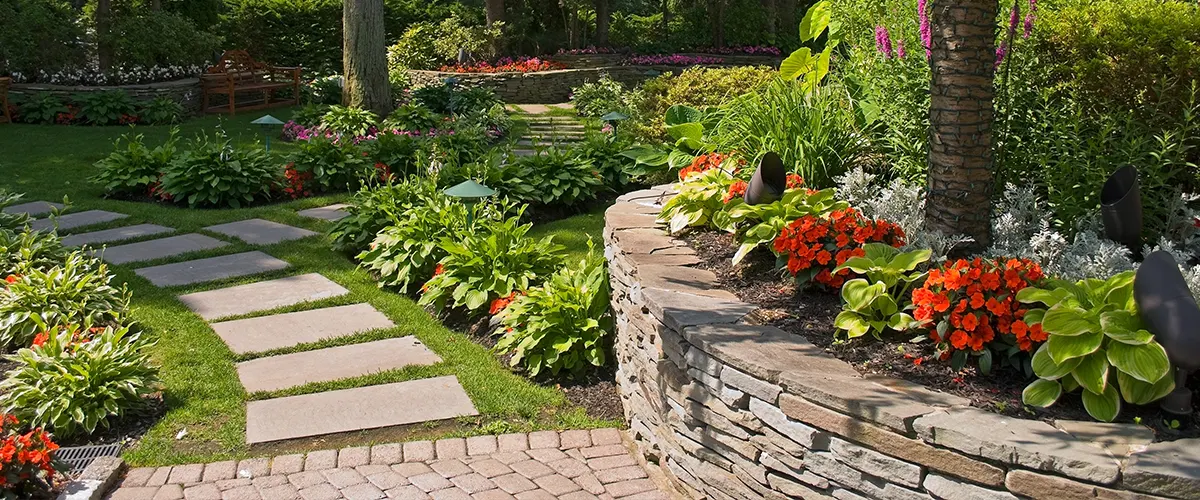
Stone walls are a time-honored tradition. Not only do they look great, but they are quite functional, too. They add a great deal of curb appeal and make your home different from the rest of the neighborhood.
Stone walls are a beautiful addition to any property, but they can be expensive and time-consuming to build.
If you’re looking to add a stone wall to your home, hiring a professional contractor to do it is crucial. This structure requires a lot of skill and expertise, professional tools, and a bunch of time.
This guide covers the most important aspects of building a stone wall.
How the right materials will impact the end product, and how investing a good amount of time makes this project worth every penny.
Keep reading and discover everything you need to know about the best stone walls!
What Are Retaining Stone Walls
Retaining walls are often used in areas with hills and mudslides to prevent the material from moving. They create a smooth transition from one level of the ground to another.
Building a small retaining wall (like a 3 feet tall) could be a DIY project if you have the proper tools and knowledge. However, anything taller needs to be handled by professional contractors specialized in working with stone and concrete.
The easiest way to build a stone retaining wall is to use the dry-stack method. The process doesn’t require mortar between the flat stones and doesn’t need a concrete footing as mortared walls do.
The main advantage of dry-stack walls is that they drain well, allowing water to pass through the wall itself. This reduces the hydrostatic pressure imposed by wet soil behind the wall, the most common cause of retaining wall failure.
However, you’ll need proper drainage for a dry-stack retaining wall. A drain helps maintain the wall’s structural integrity and preserve its lifespan. Backfilling the wall with rocks also promotes drainage and prevents soil from pushing through the cracks in the wall’s stones.
Types of Stone Walls
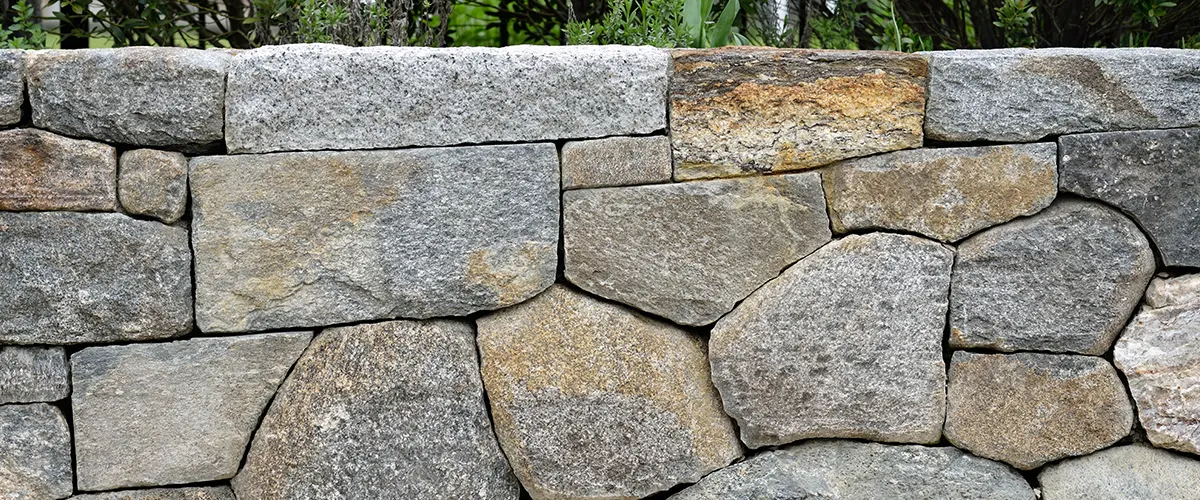
- Tossed walls are those rambling paddock walls that often make us think of Ireland. Farmers just threw rocks into fence rows and worked the fields, building a wall up.
- Laid walls are more orderly than tossed walls. The stone is placed and secured (without mortar) to make a well-fitted wall. These walls are also referred to as dried stacked walls.
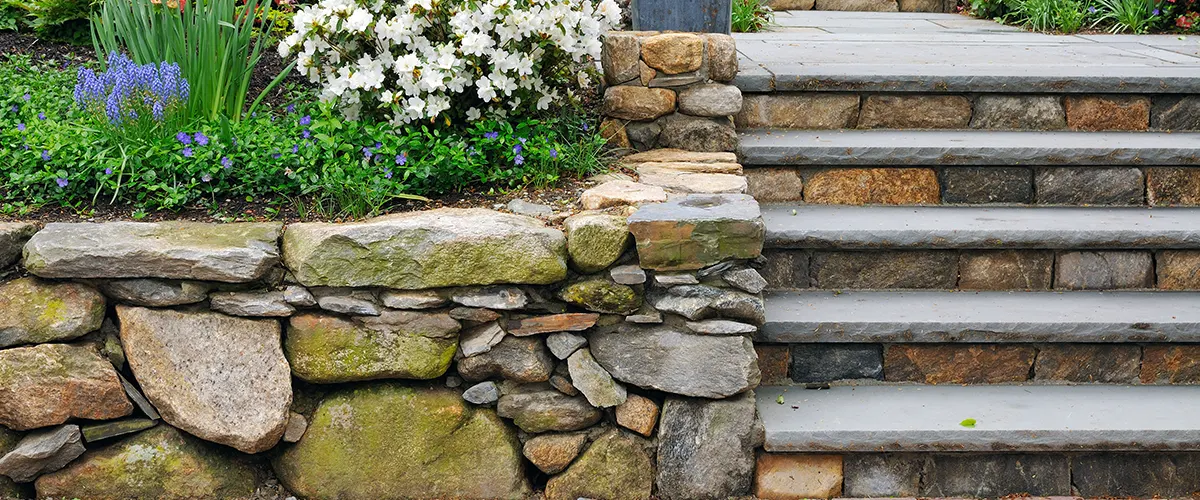
- Curved flagstone walls are a popular way to define a patio or backyard kitchen. They also make dynamic-looking stone-raised beds.
- Mortared stone walls are ideal as retaining walls because they're strong enough to hold back the earth. A mortared wall is great in areas with hills and minor mudslides.
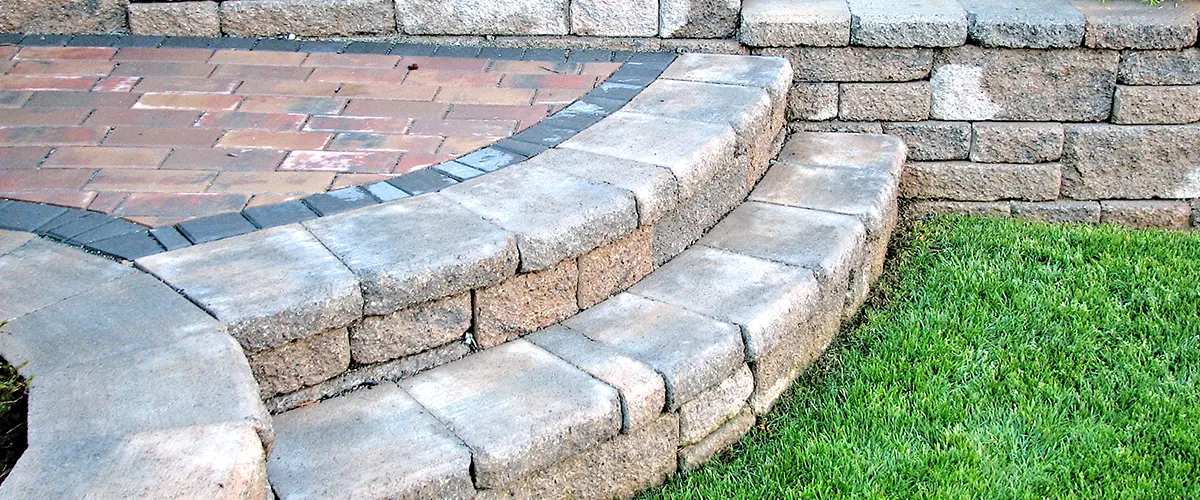
- Stacked block walls are made of mortared concrete blocks. They are more formal and create a courtyard effect for your home.
Plan Your Stone wall Ahead
Planning is a must in any stone wall project. It’s because of the importance of selecting the right type of stone for your wall and ensuring you have all of the necessary supplies on hand.
If you don’t plan ahead, you may end up having to make last-minute trips to the hardware store or quarry, which can be expensive and time-consuming.
It’s essential to allow enough time for the mortar to dry before you start using the wall. If you don’t let it time, the stones may come loose over time or create gaps between the mortar and stone.
Work with a professional contractor to ensure the structure is safe and secured. Here at Hankins Decks, we value your time and make the entire process fast and straightforward.
When To Start Your Stone Wall Project
If possible, pour concrete footings in the fall before the ground freezes.
However, if you don’t get the footing poured before the weather turns cold, there is no need to worry.
All you need to do is keep the concrete warm. Like all cement products (mortar and thinset), concrete needs to be kept at around 50 degrees Fahrenheit to cure properly.
You can keep concrete warm by covering it with plastic as soon as it’s poured. It’s even better if you then cover it with hay as well. Hay makes excellent insulation and is fairly inexpensive.
You’ll need to keep the footing covered for at least ten days for the concrete to dry properly and transform into the firm foundation that you need it to be.
Set up a Tent to Work Outside
A tent is a great way to keep yourself warm when working outside in winter. Not only that, but it’s also a great way to keep your materials warm, too.
You can make a tent yourself out of wood or plastic piping and cover it with plastic or tarps.
- Make sure your tent is big enough to keep your materials covered and gives you enough room to work.
- Don't make your tent too big. It will be difficult to heat.
- Let it breathe. You'll be running heaters inside your tent and you want the fumes to have a way out.
Codes and Regulations For Stone Walls
Check with your city’s building authority for applicable building code rules and other laws regarding retaining walls. In most cases, building permits are needed to create such a big and imposing structure, but your city may have different regulations. Here are the guidelines in Overland Park.
Most areas require an engineer’s stamp for walls over 3 feet, but some draw the line at 30 inches.
Also, your city may require inspections for retaining walls of any height, including a freestanding wall, even if you do the work yourself. However, there’s no need to worry. A professional general contractor that cares about his customers will take care of any building permit.
Here at Hankins Decks, we value your time and take care of everything, from obtaining the building permits to creating the perfect stone wall for your home. We put together a simple process where our core values ensure you get the end project you envisioned.
How to Build a Rock Wall
Prepare The Footing
First things first: dig a trench below the frost line and 2 feet wider than the wall. You’ll need to line it with landscape fabric overlapped 12 inches at the seams. Add a 6-inch layer of ¾-inch stone. After you lay stones or flat rocks, tamp them with a plate compactor to create a strong foundation,
Keep doing the same thing until the footing is about 8 inches below grade. About a foot beyond each end of a straight wall section, drive two stakes, separated by a distance equal to the width of the wall.
Lay The Base Course
Connect the stakes with a mason’s line set just above grade.
After that, place the first stone at a corner with its face grazing the line. Place the next stone against the first, face to the line. Keep doing that until the first course is laid, and repeat on the opposite side.
Fill between the two rows with smaller stones. Make sure the smaller stones are set flush with the tops of the face stones. Top this course with a bed of mortar.
Build Up The Wall
Undo the line and place it higher up the stakes to start the second course from a corner.
Dry-fit each stone first to see that the vertical joints are staggered and the outside faces barely touch the line. Remove the stone, spread a trowelful of mortar on the wall, and tamp the stone into it with a mallet.
The face stones’ visible edges should rest only on stone, not mortar. Scrape away any mortar that squeezes out to create a pleasing appearance of the stone set in the mortar.
Mark The Stones to Cut
Eventually, you’ll have to cut a stone to make it fit. Use a wax pencil to mark the sections of the stone you want to remove.
The goal is to keep the joints tight, less than 1 ½ inches wide, but this can differ from project to project.
To make cuts, you’ll need a 3-inch carbide chisel, a 3-pound hand sledge, and safety glasses.
Cut The Stone
Place the stone on the ground, with the side you want to remove facing down. Set the chisel’s tip on the pencil line, and aim it slightly downward, so you know for sure the stone will split properly.
Strike the chisel with the mallet once, and then reposition it so that the blade is half on the score you just made and half on fresh stone. Strike it again and repeat until the waste pops off.
Tool The Joints
Trowel the joints between the capstones with a brick jointer. This makes them slightly concave to channel away water.
On hot, dry, or windy days, make sure you mist the wall with water as you work so that the mortar cures slowly and completely. Finish up by applying a wedge of concrete along the base course, front and back, to keep the wall from shifting.
Use a brick trowel to make each wedge 6 inches high and 12 inches wide, and hide them with backfill.
Stone Walls Costs
Generally, a professional installation will cost anywhere from $10 to $15 per square foot. However, if you do the work yourself, the cost can be significantly less, around $5 to $10 per square foot.
The cost of a stone wall can vary depending on the size and height of the wall and the type of stone you use. For example, natural stone will be more expensive than engineered stone, like quartz.
The price of stone can also depend on where you live, what type of stone is available, and how many laborers are working on the project.
Conclusion
Stone walls are one of the best additions you can get to your home. They add curb appeal and improve the overall look of your outdoor space, but most importantly. A stone wall is everything an outdoor space needs: uniqueness.
If you’re interested in adding one to your property, ensure you have everything you need, including the extensive skill it takes to build a safe one. Building a stone wall is a job for professionals.
Our experts at Hankins Decks provide valuable information and insights about the best way to get this project going. Having a professionally built stone wall will make everyone in the neighborhood want one themselves.
Call us today and add a touch of elegance to your home with a unique stone wall.