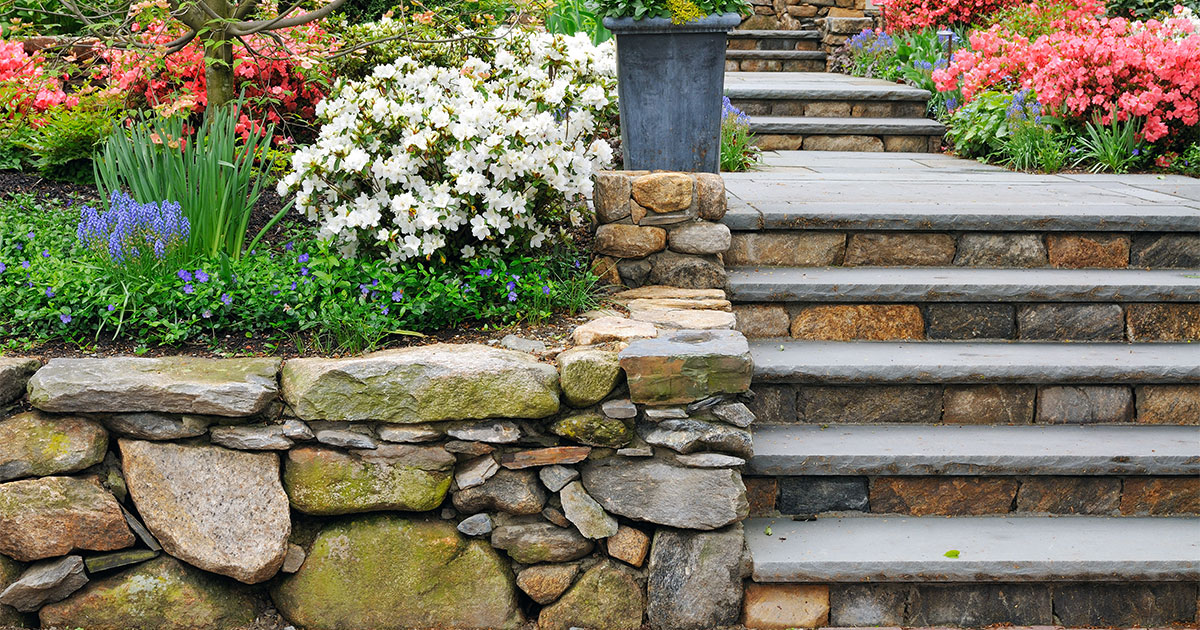
A retaining wall in your garden improves the look of your home, but also its value. It adds a great deal of extra privacy to your home and provides a good-looking enclosure for pets and children.
Choosing the right material for your retaining ensures the structure is safe and long-lasting.
A cinder block retaining wall is considered the equivalent of a retaining wall with ‘concrete’ blocks at first sight, but there’s more to it than the appearance.
In this blog post, we’ll discuss the advantages and disadvantages of cinder blocks and concrete blocks, how much they cost, what to expect from them, and how to get started on your project
Keep reading and discover everything you need to know before starting your stone wall construction!
What Are Cinder Blocks
Cinder blocks are hollow rectangle-shaped structures usually made of concrete and coal cinders used in construction sites. They are similar in shape and construction to concrete blocks, but instead of sand or gravel, much of the aggregate filling material is coal cinder.
Compared to concrete, cinder blocks are much lighter in weight. They are much easier to work with, but being lighter also decreases their pressure-bearing ability. The blocks have standard dimensions, and you can even use them interchangeably.
Regardless, cinder blocks are becoming harder and harder to find as homeowners move towards concrete or natural stone walls.
What To Remember About Cinder Blocks
- They are usually made of concrete, in addition to coal cinder.
- Much lighter compared to concrete because of the proportion of aggregate
- It is not very strong, so it's insufficient in some places.
- They are more likely to bend, and buckling and repairs are often very expensive.
- Their mass production stopped about 50 years ago, which makes finding quality cinder blocks nearly impossible.
- It does not have a significant amount of tensile strength.
What Are Concrete Blocks
A concrete block retaining wall is the perfect solution to control erosion, eliminate a hard-to-mow slope, or add a planting bed.
Concrete blocks are comprised of water, cement, and aggregate loads, such as sand, gravel, or crushed stone.
Remember: the main difference between concrete and cinder is their aggregate loads. Cinder blocks are filled with coal cinder (ash), and concrete blocks are filled with sand, gravel, or crushed stone.
Mixed and cured, these ingredients form a hard, strong, and durable substance, perfect for construction.
Types Of Concrete
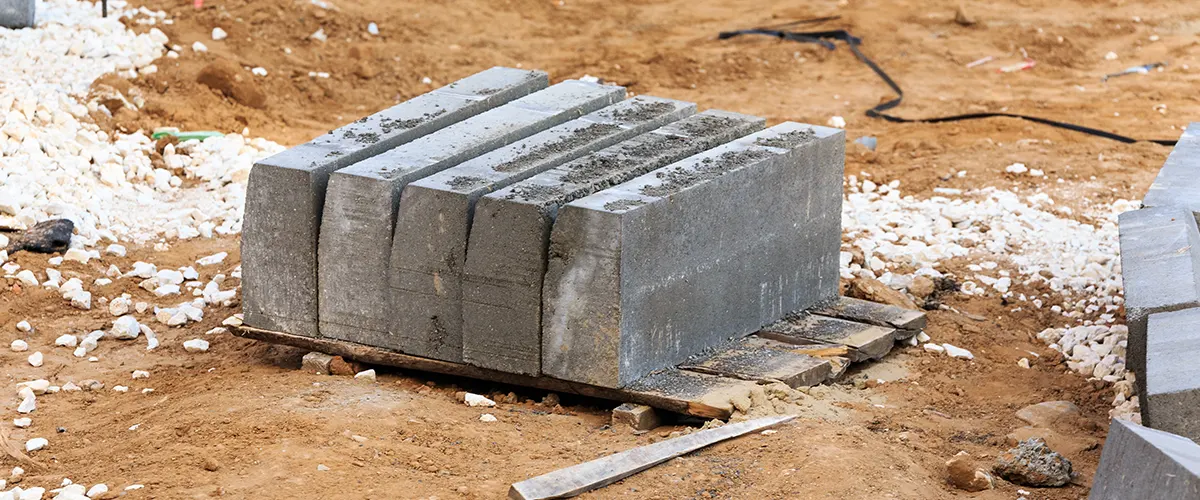
Concrete blocks have various shapes and are hollow. Solid concrete blocks are called concrete bricks.
However, many types of concrete bring different advantages to the table.
Hollow Concrete Blocks
The hollow concrete blocks are the most common when thinking about retaining walls.
Hollow concrete blocks generally have light aggregates. Depending on their usage, they’ll be built differently and serve a different purpose.
Typically, hollow concrete blocks have gross voids in their gross area. The solid area shouldn’t be less than the hollow area for a hollow concrete block to reach its maximum permissible load capacity.
There are two types of hollow concrete blocks; load-bearing hollow concrete blocks and non-load bearing hollow concrete blocks. In load-bearing blocks, professional builders fill the gap with mortar for increased resistance.
They are available in different sizes:
- 100x200x400mm
- 200x200x400mm
- 150x200x400mm
Autoclaved Aerated Concrete Block (AAC)
This material has the same ingredients as bricks, but a different composition meant to reduce costs. The AAC reduces the overall need for steel by 15% and concrete by 10%.
In terms of cost-benefit, the autoclaved aerated block is better than bricks in different ways:
- construction time
- adaptation to various surfaces
- cost
- fire resistance
Two disadvantages to AAC are that it’s less resistant than concrete blocks or bricks, and you’ll need to submit a method declaration for approval before you start the installation.
Concrete Bricks
Concrete bricks are rectangular blocks made of baked clay or concrete. While some manufacturers use solid concrete to create a stronger structure, others juggle the ingredients for economic purposes.
Concrete bricks provide a good aesthetic and smooth appearance, which is why homeowners love using them for fences and facades.
Solid Concrete Blocks
Solid concrete blocks are made to be strong, heavy, and created from naturally dense aggregates, like gravel.
This material is strong enough to be used in large masonry units that support heavy loads.
Solid concrete blocks are similar to concrete bricks. However, they are much more expensive and heavy, which means they withstand more pressure and weight.
Cinder Block And Concrete Block Comparison
The differences between a cinder block and a concrete block are as follows:
| Characteristics | Cinder Block | Concrete Block |
|---|---|---|
| Aggregate material | Ash | Sand or gravel |
| Manufacturing | Made of concrete and cinder | Made of steel or cement |
| Weight | Lighter than concrete | Heavier because of the aggregate |
| Strength | Can't withstand high pressure | Stronger and better to build with |
| Flexible | Not flexible and generally prohibited | Used in almost any structure |
| Cost | Requires many repairs and a higher overall cost | Higher upfront cost but saves you money in the long run |
How To Build A Retaining Wall
Contact local utility companies to mark the location of underground wires and pipes. Wires are often buried just beneath the surface, so avoiding them will save you from a costly mistake.
If your wall borders a sidewalk or deck, you may need a code-compliant rail and inspections after the project is finished. Your professional contractor usually takes care of permits and ensures your project passes the inspection.
Materials Needed
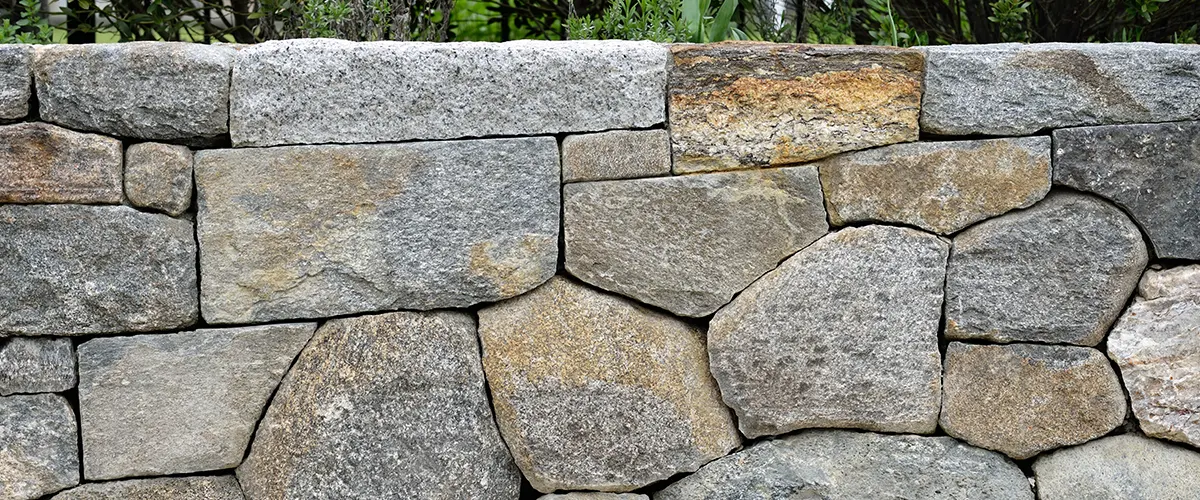
In different regions, the rock may vary, and the material may go by various names. For example, in the Midwest, the base material is often called “Class V” (as in the Roman numeral for five).
The essential quality of the material is its different-sized rock and sand particles. They interlock and create a compact surface that’s perfect for a solid base. It’s the same material used beneath roadbeds and paver patios.
Make sure you use the right stuff. It’s NOT the same as the crushed gravel you use for backfill.
Use a brick tong to handle the bricks. It doesn’t make them lighter, but it makes handling them easier. You’ll be able to position them properly and less likely to crush fingers.
You’ll need:
- Compactable gravel
- Concrete adhesive
- Crushed gravel
- Sand
Tools Needed
- 3-lb. hammer
- 4 ft. level
- Block chisel
- Brick tongs
- Caulk gun
- Shovel
- Tamper
- Wheelbarrow
- Transit
- Trowel
What To Keep In Mind Before Starting The Project
- Make sure the footings are deeper than the frost penetrates. This provides stability through freezes or thaw cycles. Wet soil expands when frozen, making any structure sitting on it move and lose stability. Frequent thaws and freezes make the ground unstable, and constant moving and swaying damage your wall. Clay soils are particularly susceptible to severe freezing.
- Plan for control of surface water and groundwater disposal if necessary. Saturated soil is easily deformed, can slump at any time, and creeps downhill.
- Consider how high the wall will be. Structural integrity and safety issues become a concern when the walls are over 6′ in height. Consider building successive walls 2′ high instead.
- Think about using mortar. If you are using mortar, the wall also requires a solid concrete footing. Shifting, settling, and heaving can destroy mortar joints, leaving unsightly cracks that need annual repairs.
Building A Concrete Block Wall
Excavate And Level The Base
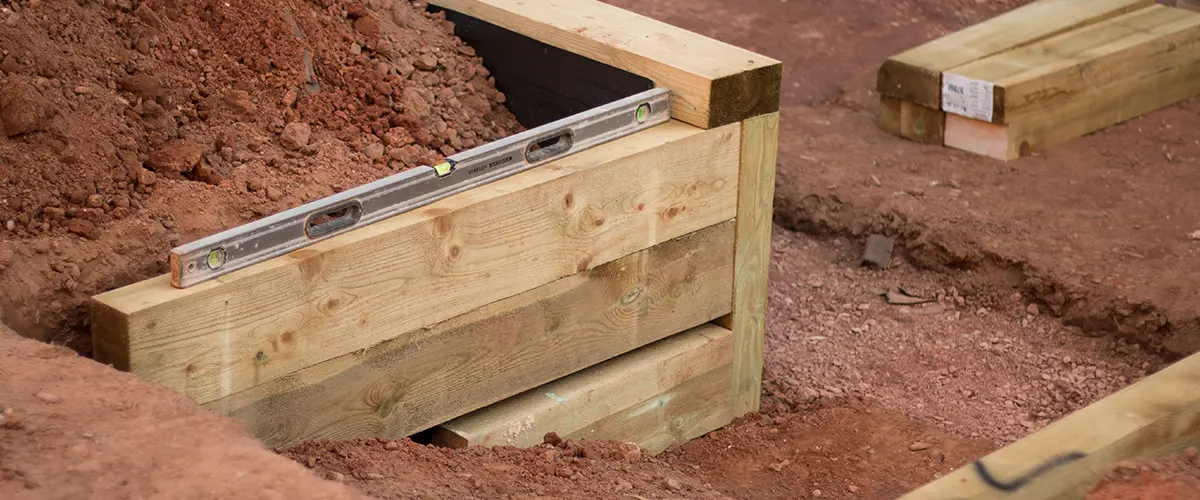
Excavate and level the surface where you’ll install the wall.
Use a transit or a 4-ft. level taped to a straight 2×4 to establish a common stake height. The stake height indicates the top of your sand leveling bed.
Create a flat area at least 4 to 6 inches deep and 24 to 28 inches wide. This flat area is where you’ll install the compactable base material.
Provide a clear area of at least 12 inches behind the wall for installing the crushed rock.
Tamper The Base Material
Install 4 to 6 inches of base material and level it to the tops of the stakes.
Compact it until it’s about one inch below the tops. A hand tamper should be enough for small projects, but professional retaining wall builders use a gas-powered tamper for walls more than 30 ft. long.
Add Sand And Screed It
Add sand and make it a flat-as-a-pancake base for installing the first course of blocks.
With the tops of the stakes as guides, use a long, straight screed board to level the sand.
A hand trowel should be good enough to fine-tune small dips and humps.
Level the First Row
After the sand is leveled, install the first course of blocks. Use a string line to establish a straight line.
Level the blocks lengthwise and front to back, and once the first row is installed, pack native soil to grade level on both sides. The soil anchors the wall in place.
The brick tong makes handling and positioning heavy blocks easier, faster, and safer, so we recommend using one.
Install Pins
Drive pins to lock courses to one another and help establish the 3/4-inches backset for each row.
Use an extra pin to set the installed pins below the surface of the blocks so they don’t interfere with blocks on the next row.
To maintain wall strength, offset the vertical joints of the row you’re installing at least 4 in. from those of the row below.
Cut Blocks With A Chisel
Cut blocks to size by first scoring the top and bottom with a block chisel.
Set a few bricks on the ground and create a V gap. This will allow the tension to go in the hollow space and not on the bricks. Place the brick you want to cut above the V gap. Place the chisel slightly downwards, and hit it with a mallet.
Finish the cut from the side, and you have a perfectly cut brick.
Backfill With Gravel
Make sure you use crushed rather than smooth gravel, as this locks together and helps direct backfill pressure downward (rather than outward).
The backfill also provides a fast path for water drainage and acts as a tree root barrier.
Finish With Special Cap Blocks
Install the cap blocks using two 1/4-inch beads of concrete adhesive to secure them in place. Get rid of excess mortar if you decide to fill the blocks with cement. You’ll make the wall look sleek and clean.
Cap blocks can be positioned with a slight overhang or back set or flush with the wall face. Either way, as long as it looks good for you and meets your needs, you should be all set.
Conclusion
It’s important to hire a professional contractor for your retaining wall installation.
A DIY project might turn out fine at first sight but think twice if you have the expertise and knowledge to make it safe for your loved ones and last long.
If you want the best blocks on the market, make sure you get concrete. Quality cinder blocks will be harder to find and may not hold up as well in severe weather conditions. When building any outdoor structure, ensure that you follow all regulations and safety precautions. Get a building permit if the project requires one, and let experts build you a long-lasting and beautiful retaining wall.
If you’re looking for a professional contractor to help with your retaining wall installation, you’re in the right place!
Call us today and get the coolest upgrade for your home!


