If you’re like most homeowners, your deck would probably need repair at some point. Decks are a great way to add value to your home and provide a perfect spot for gatherings with friends and family all year round.
Even the sturdiest decks need some upkeep from time to time, and if your decking is getting on in years, you’ll likely need to perform some deck repairing soon. In this guide, we’ll walk you through the basics of deck repair so that you can get started on the right foot. Stay safe and have fun!
What to do before deck repairing?
Before you start repairing your deck, there are a few things you should do to prepare.
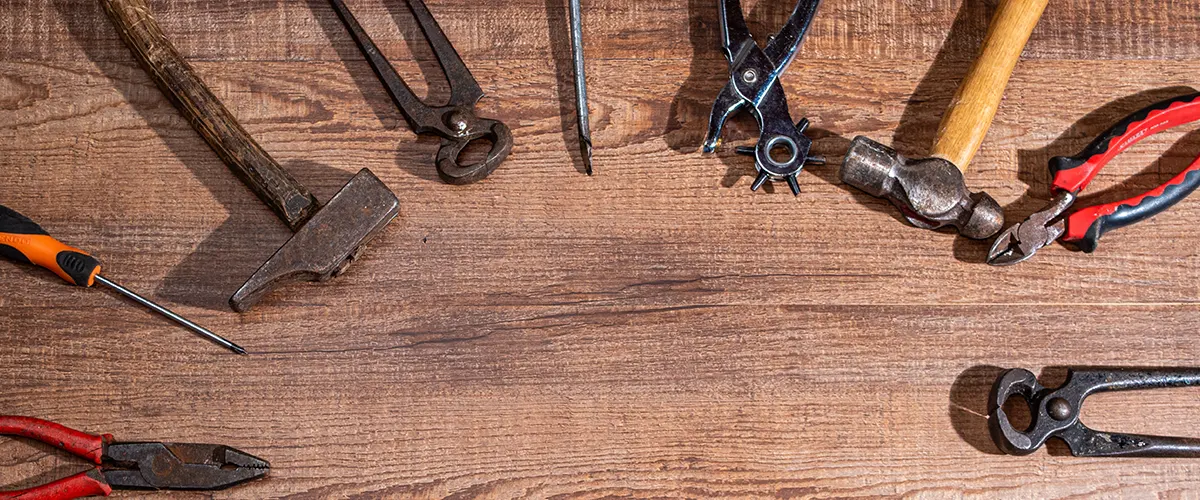
First, make sure that you have all of the necessary tools and materials on hand. You’ll likely need a hammer, screwdriver, a circular saw, drill, deck screws, and deck nails, among other things.
Second, take a look at the decking and determine what repairs are needed. Oftentimes, deck repair involves replacing boards that are warped, rotten, or otherwise damaged.
If you’re not comfortable doing this sort of work yourself, it may be best to hire a professional deck builder to do the repairs for you.
Finally, be sure to read up on the specific safety instructions related to deck repair before getting started. Working on a deck can be dangerous if you’re not careful, so it’s important to know what to avoid.
deck repair process in 11 steps
A well-maintained deck can be a great addition to any home, but it’s important to remember that even the sturdiest decks require regular upkeep. Decks that haven’t been tended to in a while may need some deck repair. The good news is that deck repairs are generally pretty easy to handle yourself.
When repairing a deck, there are a few basic steps that you need to follow for the job to be done correctly. Here are some of the most important things to remember:
1. Always wear safety gear
2. Inspect the entire deck before beginning repairs
3. Clean the deck
One of the most important steps of repairing your deck is to clean the deck surface. This can be done by using a deck cleaner or a bleach/water mix.
If you have any loose boards, railings, or fixtures, remove them and set them aside for later repair. Decking that is dirty or covered in debris can be difficult to repair properly. It’s important to clean the deck before starting any repairs so that you have a clear surface to work on.
Cleaning the deck also helps to get rid of any potential hazards, such as loose nails or screws, which could cause injury while you’re working.
4. Remove damaged deck boards
If any boards are damaged, you will need to replace them. Remove the screws or nails that are holding the deck board in place and pry it off with a crowbar. If the board is broken in two, cut the bad part off with a saw.
Remove any damaged boards first by loosening the screws that hold them in place with a screwdriver or drill bit attachment on your power tool (be sure to unplug it before you start). If the boards are nailed in, use a hammer to remove them.
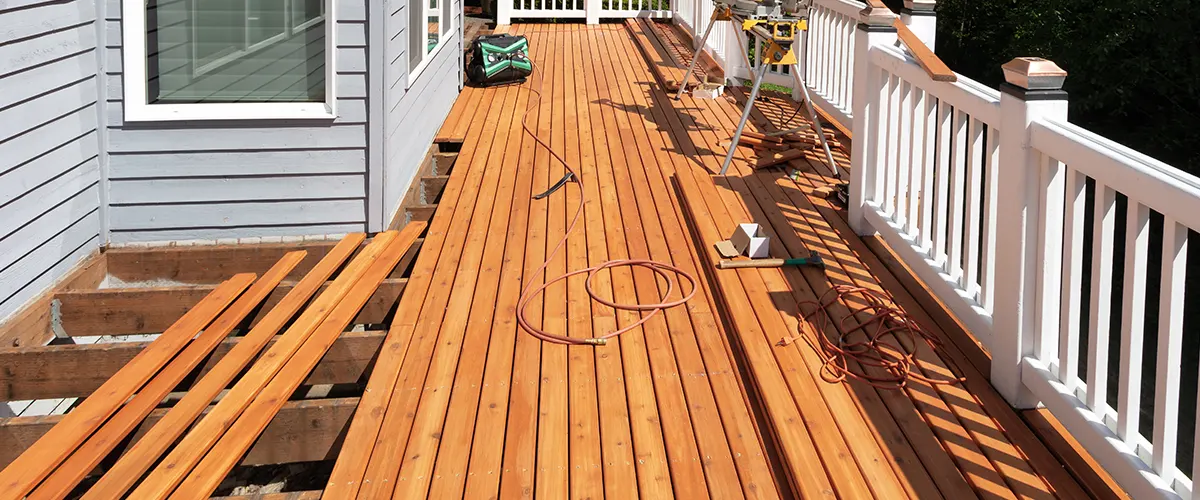
5. Replace damaged deck boards
Make sure that the new board is of the same length and thickness as the old deck board. Nail or screw it in place, making sure that all of the boards are tight against each other.
Replace damaged boards with new boards of the same size and shape. Make sure that the screws or nails are driven into the framing at least two inches so they won’t pull out over time.
6. Repairing Stairs and Railings
If any railings or stairs are loose or broken, you will need to repair them. Use wood glue on any joints that are wobbly and use deck screws to reinforce any weak spots.
For railings, you can either replace the whole railing or just fix the damaged part. If you are replacing the railing, make sure that it is of the same height and style as the old railing.
If you are fixing just a small section of the railing, cut out the damaged part and replace it with a new piece of railing. Be sure to use deck screws to attach the railing securely in place.
7. Replacing Railings
If any railings are damaged, you will need to replace them. Remove the screws or nails that are holding the railing in place and pry it off with a crowbar.
Make sure that the new railing is of the same height and style as the old deck board. Nail or screw it in place, making sure that all the boards are tight against each other.
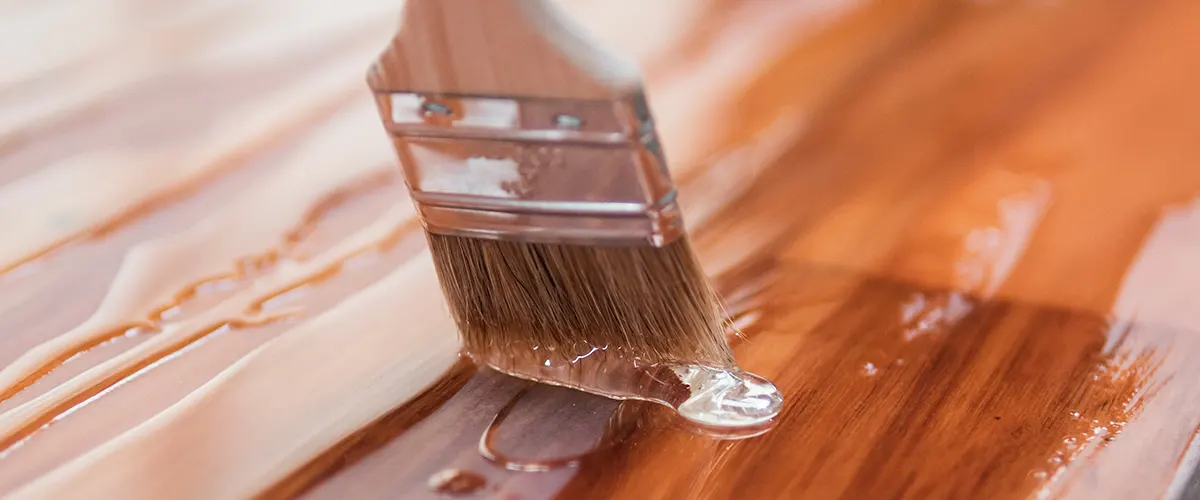
8. Sealing and painting
Before you do this, make sure that the backyard deck is completely dry and clean of any dust. Protect yourself with a mask, glasses, and gloves to avoid breathing in or getting on your skin any paint fumes or particles from sanding. To stain a wood deck, use an oil-based deck stain. Follow the instructions on the can, and be sure to coat all of the deck boards evenly. Wait at least 24 hours before using the deck.
To paint a deck, use an acrylic latex deck paint. Again, be sure to coat all of the deck boards evenly and follow the instructions on the can.
9. Consider more customization
Once your deck is repaired, you may want to consider some additional deck customization options.
Deck lighting can be a great way to add ambiance, deck gates can provide extra security, and painting the deck railing a different color can give your deck a whole new look. You could even install deck planters to add some greenery!
10. Deck's regular maintenance
11. Take care of the concrete deck footings
Concrete deck footings are a key part of any decking system. They provide the necessary support to keep the deck from sinking or shifting, and they also help to protect the deck from moisture damage.
If your deck is not resting on concrete footings, it is not safe and should be repaired immediately.
Finish the job properly
Once you have completed all of the necessary repairs, it’s important to finish the job properly so that it will last. Here are a few tips for finishing the deck repair job correctly:
- Sand down any rough edges on the deck boards before you seal them.
- Use a waterproof sealant to protect the deck from weathering and UV damage.
- Make sure that all of the screws or nails are driven into the framing at least two inches so they won't pull out over time.
- Check the deck regularly for any signs of wear and tear, and perform repairs as needed.
DIY vs professional contractor
DIY deck repair is a great way to save money, but it’s important to be careful and take your time so that the job is done correctly. If you’re not confident in your ability to do the repairs yourself, it’s best to hire a professional deck repair company to do the job for you.
They will have the experience and expertise to repair your whole deck, and you can rest assured that it will be done properly and to your satisfaction.
frequently asked questions
Conclusion
So, there you have it! The deck repair process is broken down into easy-to-follow steps. We hope this guide has been helpful and that you feel confident enough to take on the project yourself.
However, if at any point you feel overwhelmed or uncertain about what to do next, please don’t hesitate to get in touch with HankinsDecks.
Our team of professionals will be more than happy to help guide you through every step of the repair process and make sure your deck is looking as good as new in no time. Thanks for reading!